Since my daughter started going to school, I started browsing through the snack aisles looking for healthy snacks and treats I can pack for her to take to school. One of the things I often see in people’s carts while grocery shopping is Snack Pack Chocolate Pudding. I considered it as an option for my daughter and then read the label. The fourth ingredient was oil and there was artifical flavouring, as well as two dyes (Red 40 and Blue 1), amongst other chemicals.
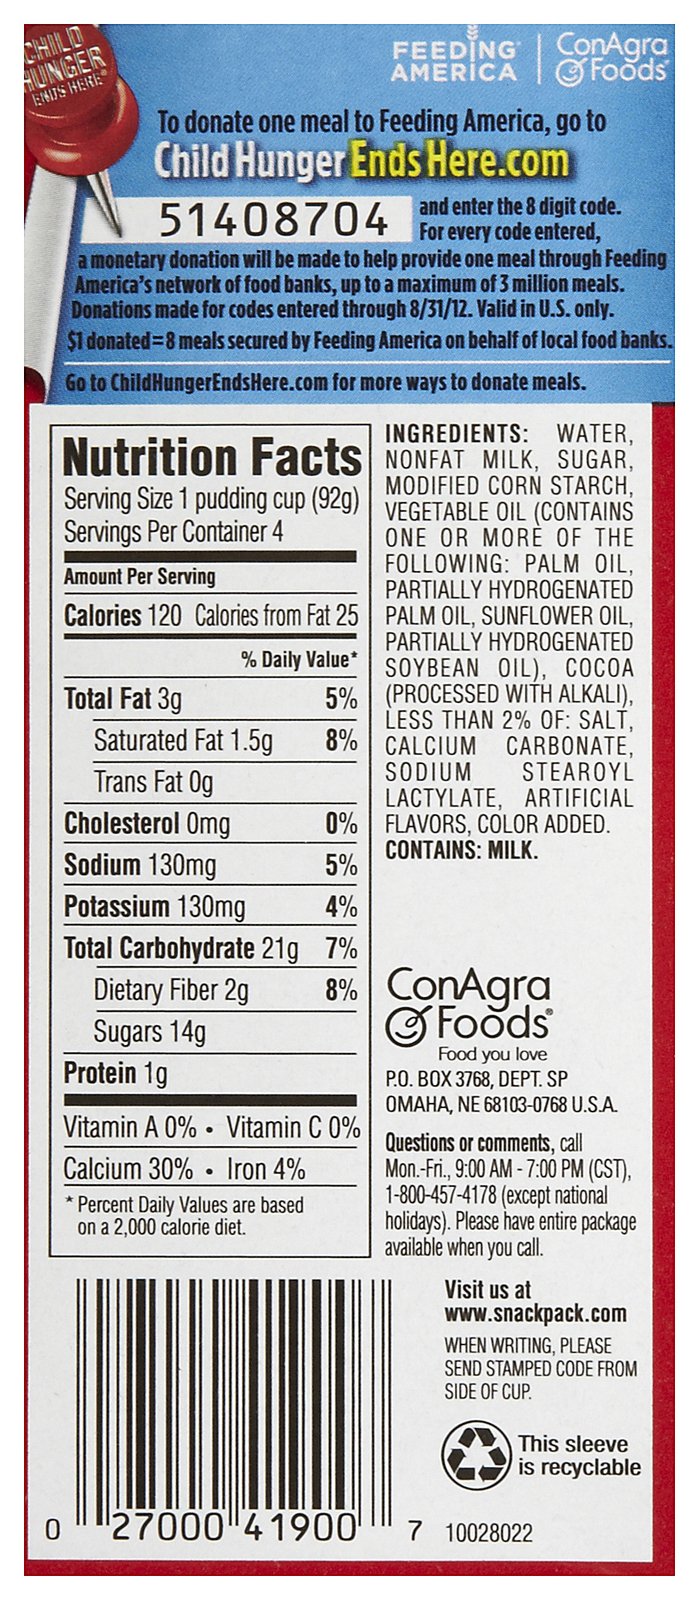
Next I hopefully looked at the organic option available and was disappointed to see carrageenan as an ingredient. Carrageenan is used as a thickening agent in many organic products such as puddings, some dips, and hot dogs. A study conducted by Joanne Tobacaman in the early 2000s suggested that carrageenan degraded by acids could cause inflammation, gastrointestinal problems, and possibly cancer.
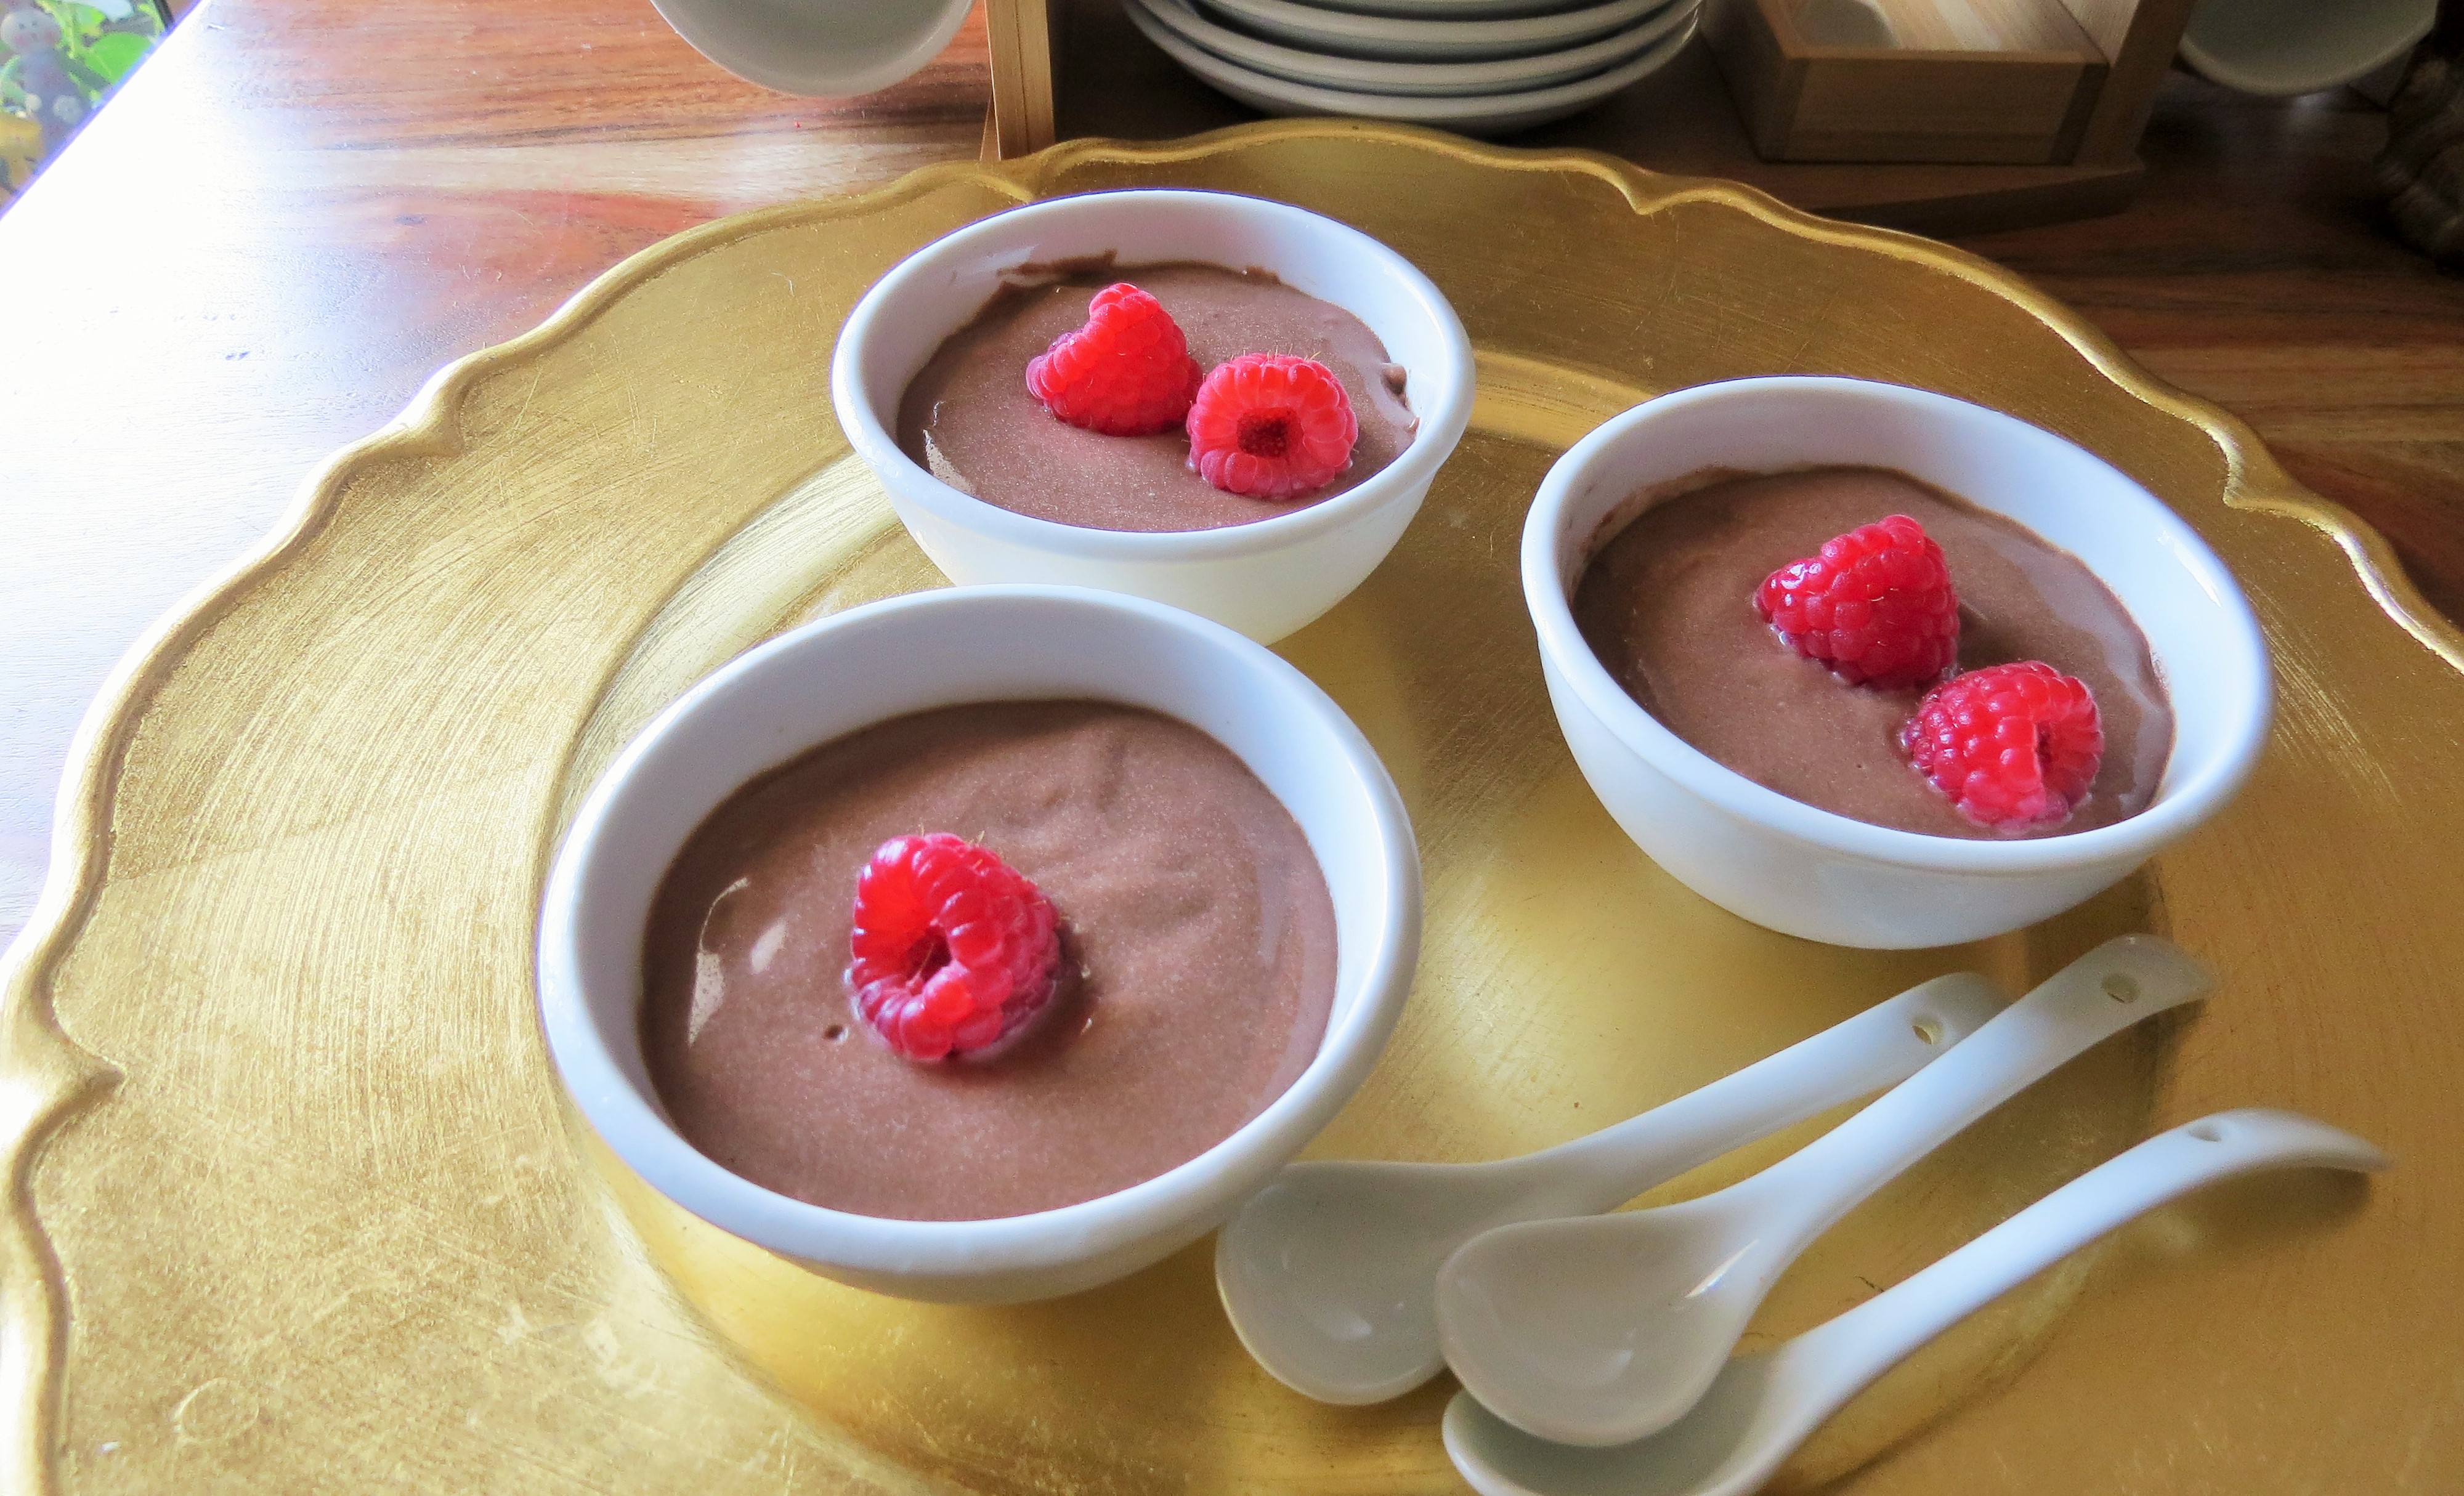
So for now I will stick to giving my children home-made chococlate pudding which literally takes minutes to make. This pudding is made with seven whole ingredients. The quality of the pudding depends on the quality of the ingredients. The only downside is the shelf-life. The pudding is best eaten with two or three days within making it.
For lunch, just place some chilled pudding in an storage container and pack it with your child’s lunch. This way not only does your child get chocolate pudding made with whole ingredients, but you also reduce waste.
Chocolate Pudding Recipe
Makes: 4 half-cup servings
Ingredients:
- 2 Tbsp unsweetned Dutch-processed cocoa
- 1.5 Tbsp cornstarch or ( 1/2 Tbsp cornstarch and 2 egg yolks)
- 1/4 tsp salt
- 1/2 cup cream
- 1 1/2 cup milk (2% or whole)
- 1/4 cup plus 2 Tbsp. brown sugar
- 1 tsp vanilla
Instructions:
1. In a bowl whisk together cocoa powder, salt and cornstarch.
2. Slowly add the cream. Whisk until the mixture is smooth and no lumps remain.
3. If using egg yolks, add them and whisk. Set aside.
4. In a saucepan combine the sugar and milk over medium heat.
5. Let the milk mixture reach a low boil.
6. Slowly pour the hot milk into the cream/egg mixture, while whisking. (This is done to temper the eggs if using any)
7. Pour the entire mixture back into the saucepan and bring the mixture to a boil.
8. Cook the pudding for a minute or two after it reaches a boil, while continuously whisking so that lumps do not form.
9. Remove the pudding from the heat, and add vanilla. Stir.
10. Cover the pudding with cling wrap so that it touches the surface of the pudding. This will ensure that no skin forms on the pudding while cooling.
11. Refrigerate the pudding.
Optional: Beat the chilled pudding with an electric mixer before serving to create a lighter whipped texture.
NOTE:
- It is best to eat the pudding within two or three days of making it.
- I add cream for thicker consistency, but if you are concerned about fat content, whole milk can be easily substituted for the cream. Additional cooking time may be necessary for thickening.
- To make vanilla pudding, simply do not add the cocoa powder.
- For a more intense chocolate flavour use 1 oz. of melted bittersweet chocolate. Add it in Step 9.
- Although a good source of calcium and protein, chocolate pudding is high in fat and sugar so I would not recommend making this a part of your child’s everyday healthy lunch.